Our Allotment
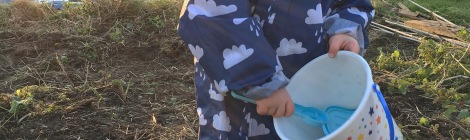
Last year we were lucky enough to be given an allotment plot, which we can see from our flat. The dream, right? But I’m ashamed to admit we didn’t really do much with […]
Last year we were lucky enough to be given an allotment plot, which we can see from our flat. The dream, right? But I’m ashamed to admit we didn’t really do much with […]

The last couple of months have been tricky. You’ve been very unsettled at night and it’s not always been clear why. I’ve just had a text conversation with your Dad, […]

As Mother’s day fast approaches (don’t worry, you still have time but not long) I get a little unnerved by the displays in shops encouraging us to spend hundreds of […]
It’s the middle of the month and so far no monthly summary has surfaced. I’ve come to realise something about monthly summaries, for me, they weren’t working. I’m sorry to […]

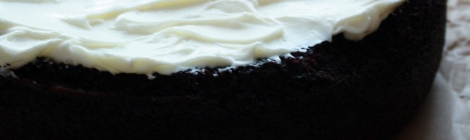
Since becoming pregnant I’ve really come to appreciate good quality ready-made goods, so when I was contacted by Abra~ca~debora asking if I was interesting in receiving one of their Pancake […]

Oh my this is a little late – in my defense I’ve had a rotten cold and my brain has failed to function beyond simple tasks. Attempting to write words […]
